Making videos from the corners of your room without any professional assistance is now a walk in the park. You can easily create brand films, YouTube videos, Tiktok videos, and webinars anywhere you find yourself.
Of all the things you need to shoot a great video, lighting is the most important. Bad lighting produces bad video regardless of your camera quality.
Lighting sets the mood and tone, adds color and feel to a rather dull environment, and ensures your viewers focus on the important aspect of your video. Investing in good lighting for your DIY video production is always a good business.
With the numerous types of lighting and various description terminologies available, it can be frustrating choosing the right lighting kits and setting up the scene. This blog post will walk you through how to get the best lighting kits for every budget, as well as the ideal lighting setup.
Best video lighting set up
Whether for artistic videos, interviews, or vlogging, the ideal lighting setup for DIY video production is three-point lighting.
This is one of the most commonly-used video shooting techniques. As the name implies, it is achieved using three lights. This technique absolutely highlights and illuminates the main subject suitably.
Three-point Lighting in a Totally Controlled Room.
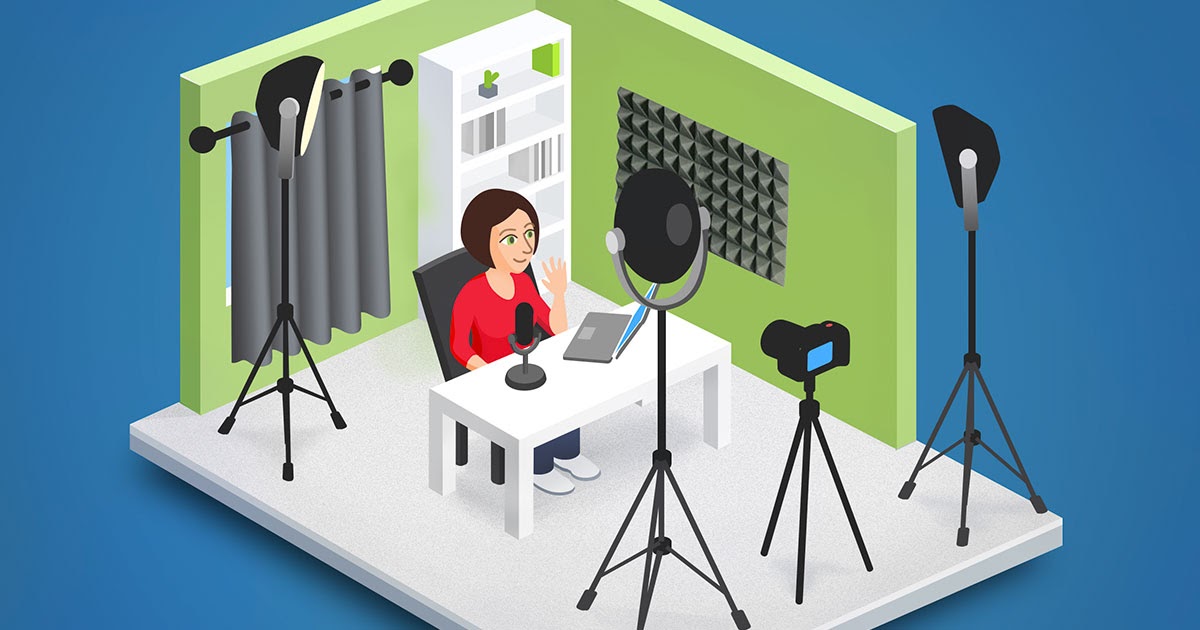
Shooting in a windowless room or using blackout shade gives you total control of your lighting. In such settings, you can make a fascinating video using these three lights:
Key light: The key light is the brightest. It provides most of the light needed for a video shoot. Typically, it’s placed in front of your subject, around 45° above and 45° to the right or left. It illuminates the subject and makes it stand out.
Fill Light: As the name suggests, it is meant to fill any dark area created by the key light. It should always be half as bright as the key light to avoid producing a flat-looking video. Fill light is typically positioned directly opposite the key light.
Backlight: Backlight is always placed behind the subject. It is used to create depth. This provides contrast and separates the person from the background. You can make the light hard or soft depending on the video texture you want to achieve. As a rule of thumb, avoid flashing the backlight directly to your camera.
Three-point Lighting with Natural Light.
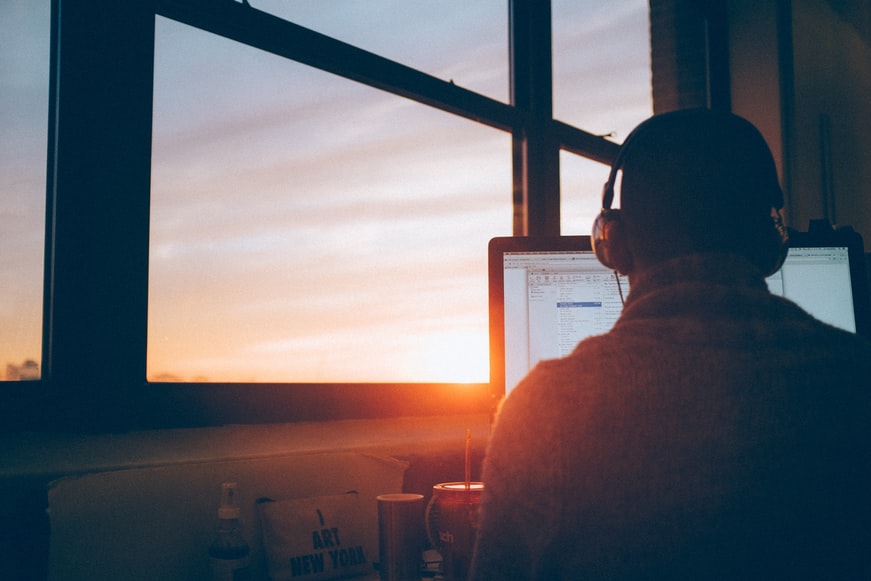
When shooting outdoors or in a room with wide windows, you can use the sun to perform magic. Yes! You can perform magic if you utilize what film producers and photographers call the “Magic Hour”. According to Borrow Lenses, “It is the period shortly after sunrise and shortly before sunset when the sun is low on the horizon creating a warm, soft golden glow.”

On the flip side, making videos using the sun for lighting can be tricky. The movement of the sun and the intensity of its beams can change at any time. It can easily go behind thick clouds and reappear and ruin your lighting. Additionally, you can miss the magic hour because of little delays and unstable scheduling.
However, with adequate preparation and planning, you can use the sun to achieve three-point lighting in different variations.
You can use sunlight as key light by making the subject face the sun and using reflectors to create your fill light and backlight.
During the magic hour, you can use it as the backlight by placing the subject in front of the sun. This creates depth as it provides a soft glow around the subject. Reflectors can be used as the key light and fill light.
3 Types of Budget-based Lighting
As stated above, you can do a lot with the sun as long as your timing is right and the weather is favorable. However, most of the time, you may find yourself in situations where you cannot use natural light.
In such situations, you may need to invest in extra lighting. You can invest as little as $100 to as much as $20000, depending on your need and budget.
Low budget lighting kits:
There are tons of lighting kits available for a few bucks. This is good news for small businesses and those that are new to video production. You can get good results using cheap lighting. Here are some all-on-one lighting kits below $70:
LimoStudio’s Continuous Lighting Kit is a great, under-$70 solution. It comes with stands, CFL bulbs, and translucent umbrellas to help diffuse the light.
Similarly, you can get Fudesy Softbox Lighting Kit at about $60. This lighting set can improve your video texture.

Mid-Range Lighting Kits
With a higher budget, you can make do with custom-made lighting for $100-$500 alongside everything you need to set them up. The problem with these kinds of lighting kits is they are typically quite large. They might be too big for a small room apartment.
But a flexible option is Lume Cube 2.0 Professional Lighting Kit. The light is pretty small. It can sit on your table but has more exceptional features like adaptable brightness and color temperature. Lubecube can give you balance anywhere you are recording.
No matter your choice of lighting, ensure the kits come with a light stand for an easier setup. In general, mid-range lighting often has a few switches to control the number of lit bulbs. This gives you total control of the lights produced.
High-End Lighting Kits
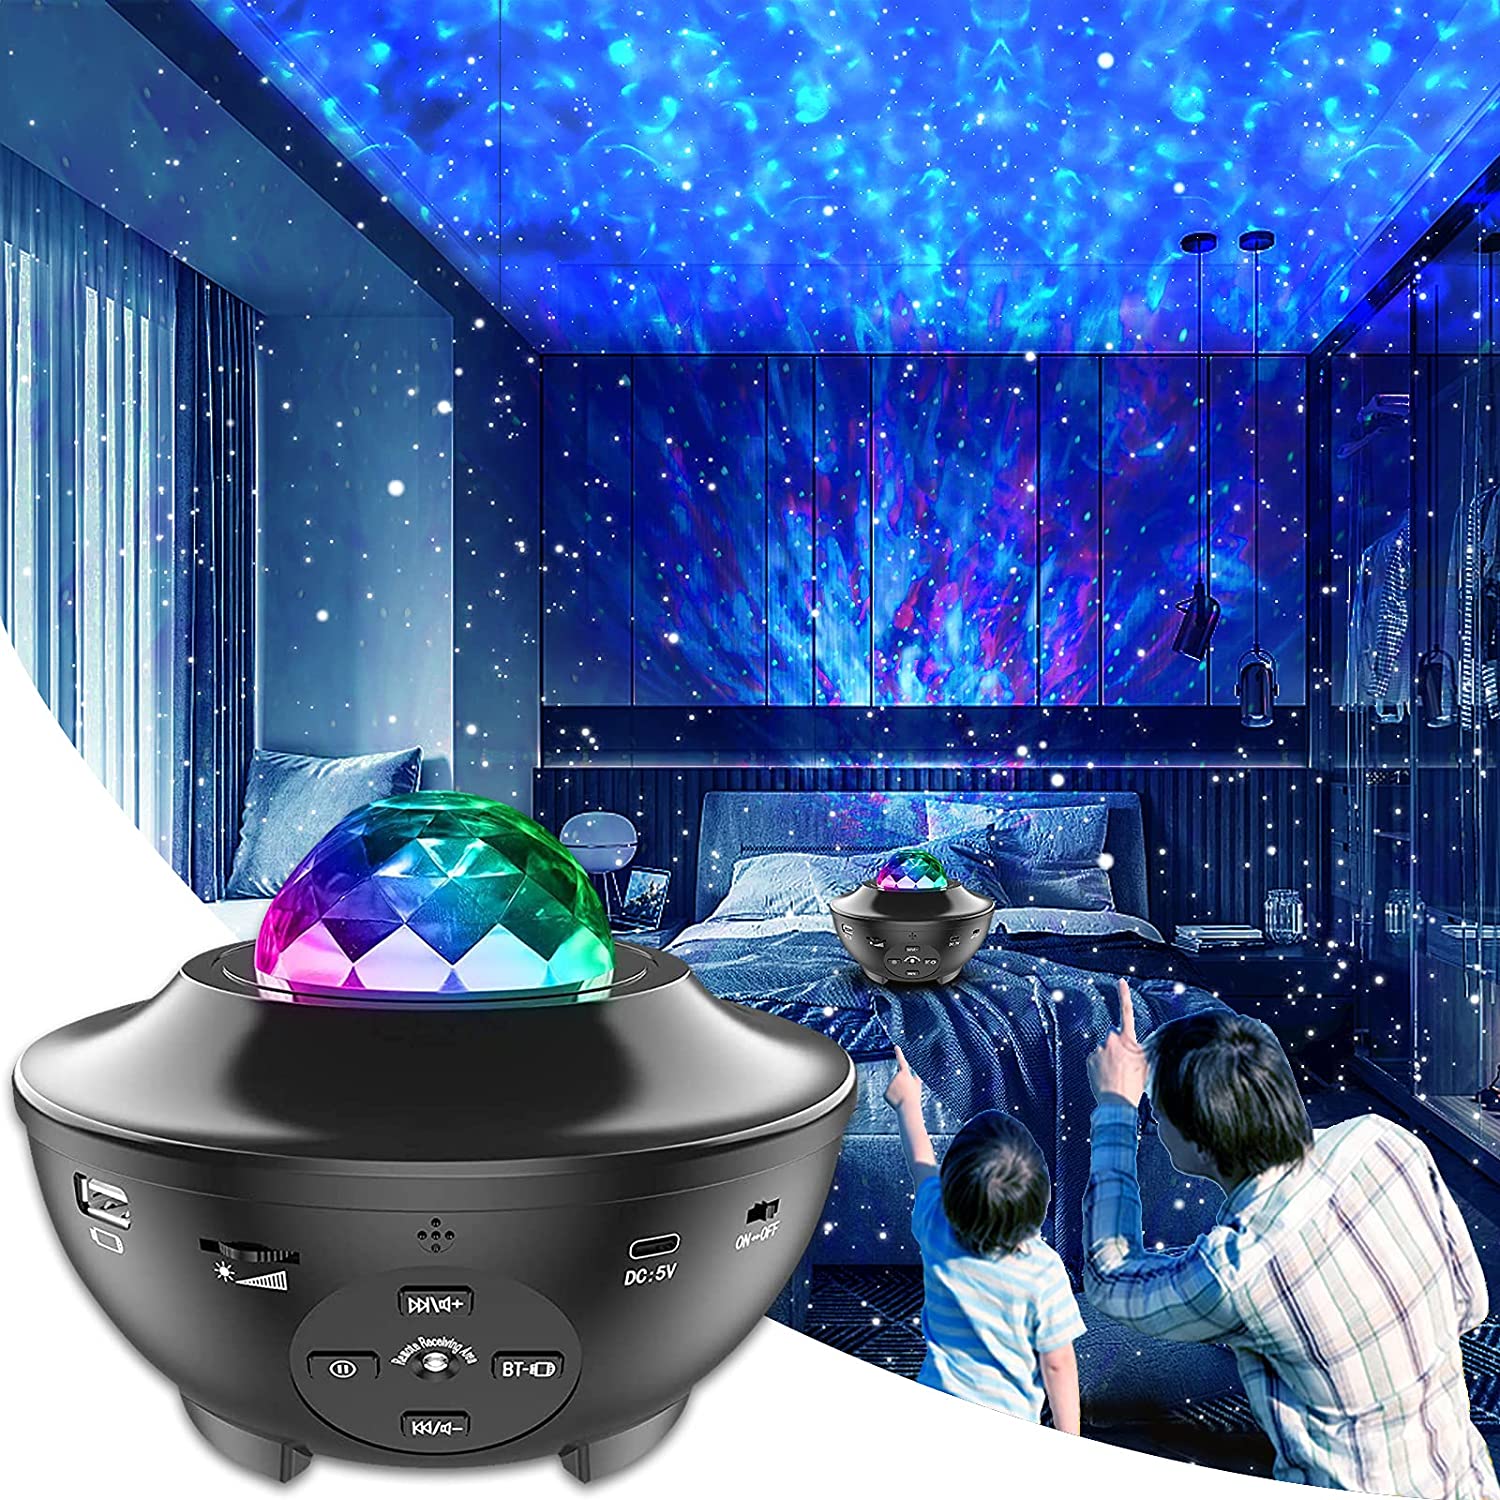
One light in the high-end lighting solution can be as expensive as the full setup for mid-range lighting. Meanwhile, this gives you many options such as full-range dimmers, changeable colors, Bluetooth control, enhanced diffusion, and high-quality output.
As a rule of thumb, before buying these lighting kits, it is wise to rent them and confirm they will match your needs. There’s no need to purchase this unless you often shoot high-end camera videos.
Final Shot
Always remember that lighting is the most important part of your video production. It is the thin line between a flat-looking and a well-polished video.
As you have learned the basics, don’t hesitate to experiment. Like many other great things, you may not get it the first time. Keep practicing over and over, and you will become an expert eventually.
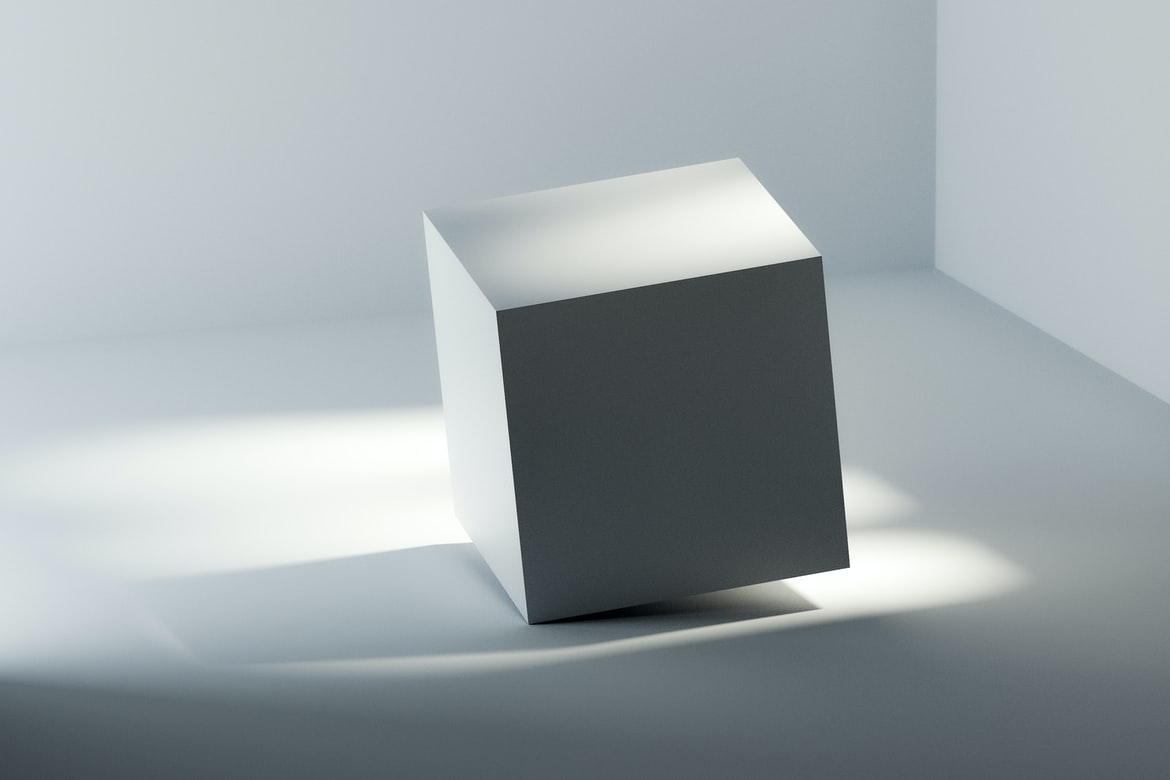
Keep In mind that soft light is always better than hard light. Hard light is the smaller light with no filter. It easily casts deep shadows. But you can make it soft simply by diffusing the hard light using a semi-transparent material or a reflector. Diffusion creates a soft glow spreading the light evenly.


